Day 2 - Processing RNAseq reads with nf-core/rnaseq pipeline
Recap from Day 1
- Yesterday we covered:
- How to use Unix.
- How to get onto HAWK and navigate it.
- How to execute the fetchngs pipeline.
Outputs from the fetchngs pipeline
- We should all have had an email from SCW HAWK - HPC SERVICES notifying you of a successful pipeline run.
- Sometimes the email function doesn’t work. We can just log in and check ourselves.
- To check, we need to log back onto HAWK, load the tmux module, and then open the session that we created.
Log on to HAWK
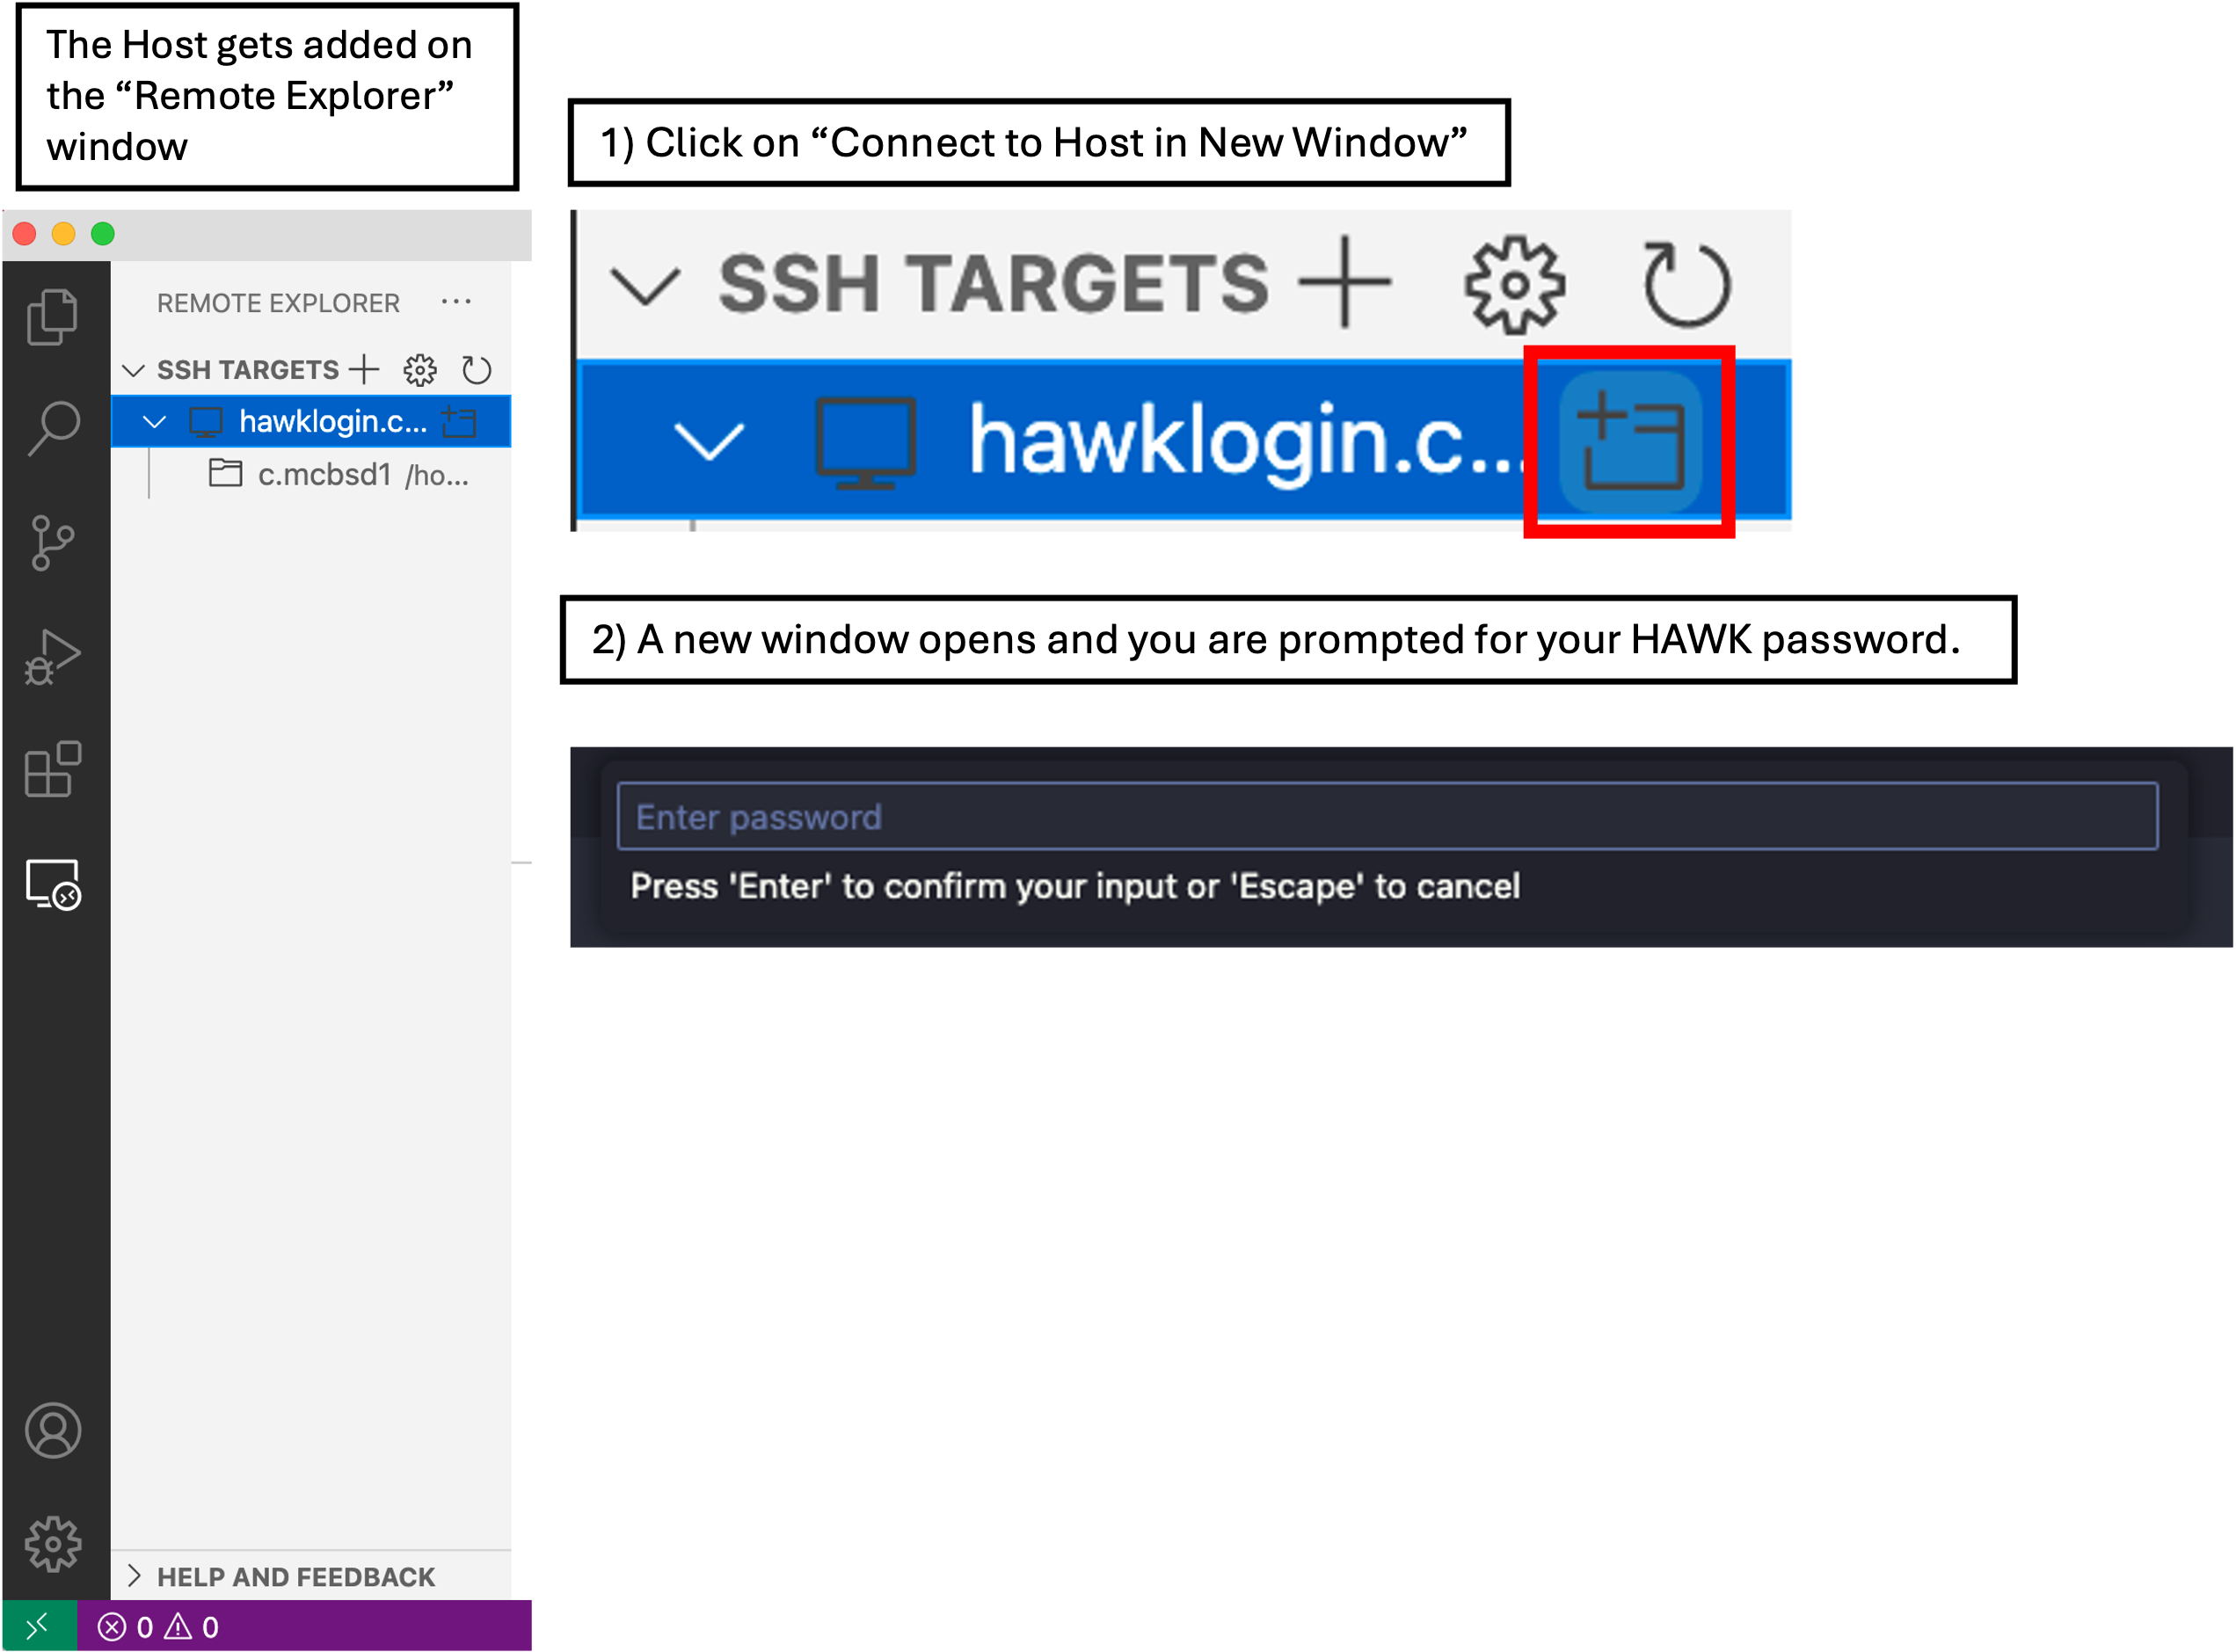
- In VSCode, click on the ‘Remote Explorer’ button, then click ‘Connect to Host in New Window’ button. This opens a new VSCode window with the remote host.
- You will be prompted (top box) to enter your password. Do this and hit enter.
- You are now connected to HAWK.
- Click on ‘Explorer’ and then ‘Open Folder’.
- A drop-down box appears at the top of the screen with a filepath. We need to change this to
/scratch/c.c1234567/rnaseq-courseand then click ‘OK’. - You may be prompted ‘Do you trust the authors this folder?’. Click ‘Trust all authors’ or ‘Yes’.
- You will now see that the directory will be open on the left of the window.
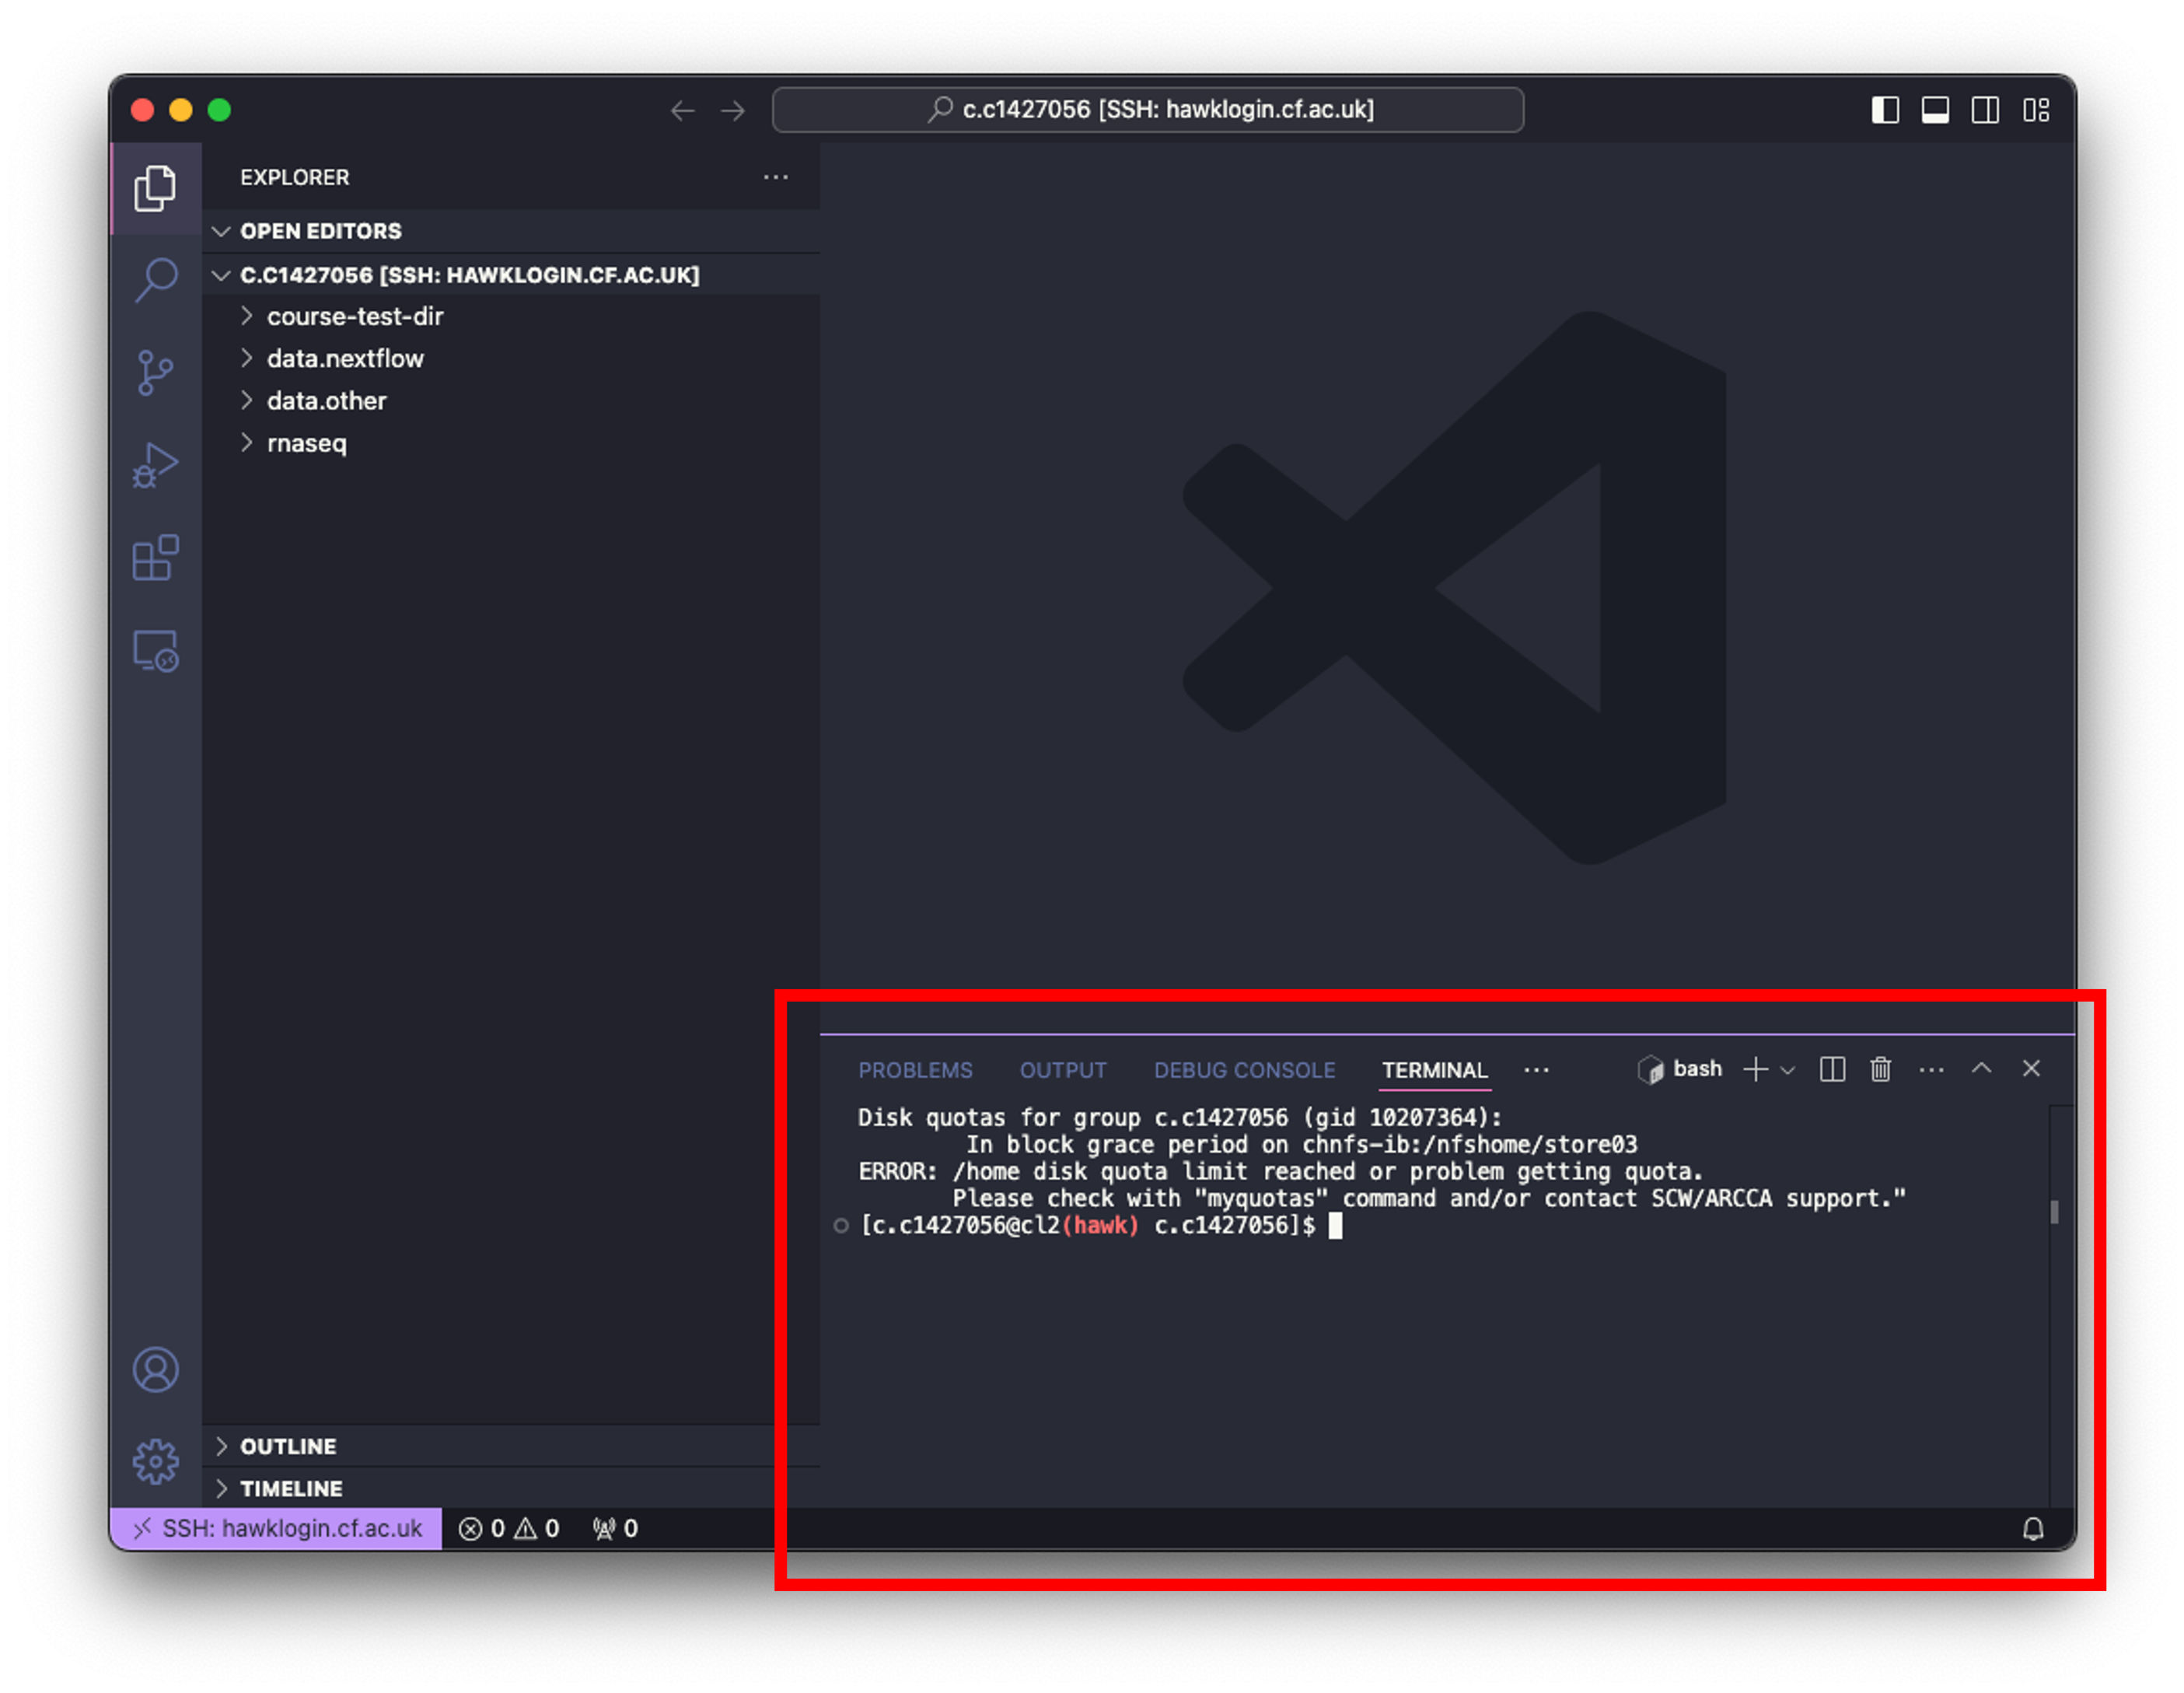
- Click on ‘Terminal’ at the top of your screen and select ‘New Terminal’.
- In the terminal window at the bottom of your screen, paste the following:
# log on to the cla1 node
ssh cla1

# move to the working directory (scratch)
cd /scratch/c.c1234567/rnaseq-course

#load tmux
module load tmux

#open our tmux session
tmux attach -t fetchngs
- Upon opening the session, we should have a window that looks like this:
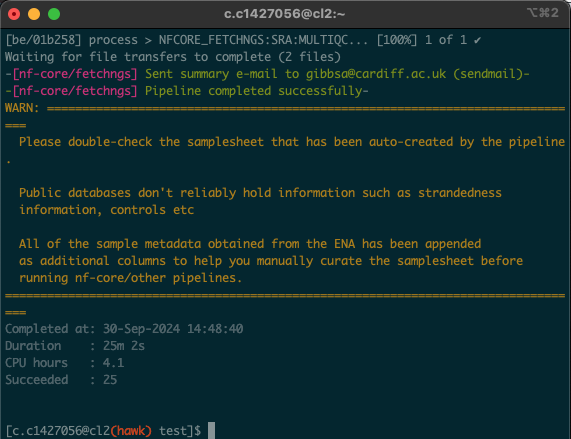
You should also see the following text at the end (we will cover the message shortly):
Checksums match: All downloaded files are verified successfully.
Linux Users
#log onto HAWK
c.c1234567@hawklogin.cf.ac.uk
PASSWORD

# Swap to the cla1 node
ssh cla1

# move to the working directory (scratch)
cd /scratch/c.c134567/rnaseq-course

#load tmux
module load tmux

#open our tmux session
tmux attach -t fetchngs
- In this situation, the process took 25 minutes. As all of us were using the pipeline at the same time, these times will likely vary. Download times will also depend on the size and number of files being downloaded.
Addition of the work directory
- We will see that there is a new
workdirectory. - This directory is created by the pipeline and uses it as a storage space for intermediate files etc.

Nextflow log file
- If we were to encounter an error whilst running a pipeline, we can check the log file that is created.
- We will see a file named
.nextflow.log. This file is what contains the pipeline running information. - We can also find this file by using
ls -lacommand in the terminal window.
fastq files
- When we run the pipeline yesterday, we asked for the fastq files to download to the input directory.
- Clicking to expand the input directory (or using
lscommand) shows that there are 4 new directories that have been created: fastq, metadata, pipeline_info, and samplesheet. - The fastq files can be found in the fastq directory. If we expand the fastq directory, we will see that there is also a md5 directory.
- This directory contains the md5 checksums for each fastq file.
- You would have noticed that there was a message at the end of the pipeline:
Checksums match: All downloaded files are verified successfully.
What is an md5 checksum?
An MD5 checksum is like a digital fingerprint for a file. When you create an MD5 checksum, it takes the contents of the file and runs it through a special formula to produce a unique string of characters. This string is always the same length, no matter how big or small the file is. You can use this checksum to verify that the file hasn’t changed. For example, if you download a file and it comes with an MD5 checksum, you can run the same formula on your downloaded file. If your checksum matches the one provided, it means the file is intact and hasn’t been altered. If it doesn’t match, the file might be corrupted or tampered with.
- It is good practice to validate your checksums to ensure that we dont have any data loss.
- Running checksums can take some time and can be confusing for those who haven’t done it before.
- Fortunately for you, I have added code at the end of the
fetchngs.shscript to do this for us. The code also gives us a nice print out to tell us if the checksums are matching or not.
Samplesheet file
- We will also see that there is a samplesheet directory inside the input directory.
- This directory contains the information about the samples that we have downloaded.
- Specifically, the samplesheet.csv file contains all of the relevant information such as file location, sample ID etc that we need as input for the nf-core/rnaseq pipeline.
- This file should be formatted specifically for the rnaseq pipeline because we used the
nf_core_pipeline: rnaseqoption within the parameters file we created for the fetchngs pipeline. - This specific formatting should make the first four columns of the file as followes: sample, fastq_1, fastq_2, strandedness.
- We can check this by right-clicking on the file, clicking ‘Open With…’ and then clicking on ‘CSV Editor’.
Metadata directory
- The metadata directory contains re-formatted metadata files. These files contain the same metadata information as the samplesheet file, but doesn’t contain the file location etc.
- We don’t need to use the information from this directory.
pipeline_info directory
- This directory contains all the files relevant to the pipeline that was run, such as a nextflow report, pipeline report.
- These files can be used to make a report if needed (handy when writing methods section).
- We don’t need any of these files for the next stages.
nf-core/rnaseq pipeline
- the rnaseq pipeline takes the files we downloaded yesterday and processes them by doing the following: Quality contol (QC), read trimming, alignment to the human genome, and produces a gene expression matrix.
- Full details on what the pipeline does can be found on the pipeline introduction page.
Required files:
input/samplesheet/Samplesheet.csv
- As asforementioned, this file is generated by the nf-core/fetchngs pipeline. We have already checked to ensure the formatting of the first four columns is correct.
- Note: If you will be using this pipeline in the future on your own samples, you can run the
bin/generate-samplesheet.shscript to generate one for you. You must have the fastq files in theinput/fastqdirectory. Please check theREADME.mdfile for more information.
resources/reference genome files
- We will need to provide a reference genome for the pipeline to use.
- The reference genome is used by the pipeline as a template for the sequencing reads. This allows for a more accurate assembly of our sequencing reads.
- More information about the mapping process can be found in this video.
- Luckily, reference genomes are readily available (if using commonly-researched species) for us to use.
- Our samples are human, therefore we will need to find and download the latest human reference genome.
- Reference genomes can be found here and here.
- Again, to keep things simpler for us, I have added reference genome downloads to the pipeline script so we don’t have to do this.
- Note: If you are using your own data and are using a different species, you will need to edit the
bin/rnaseq.shfile to match your species. I can go through this with you.
resources/rnaseq-params.yaml
- Another parameter file is needed for this pipeline.
-
Again, we will need to edit it before we run.
-
We need to change the email address in this file (and the species if using a different one)
- Open the file in VSCode by simply clicking on it, then change your email address and scw account.
- Then save the file by clicking
File > Save. Close the file by clicking the ‘X’ next to the filename along the top of your window.
Linux Users
nano resources/rnaseq-params.yaml

# change your email:

email: <b>your-email@cardiff.ac.uk</b>

# save the file
ctrl + x
y
enter
resources/my.config
- We created this configuration file yesterday.
- We do not need to edit this file any further.
- Our scratch directory should now look like the following:
.
└── rnaseq/
    ├── bin/
    │   └── rnaseq.sh
    ├── resources/
    │   ├── rnaseq-params.yaml
    │   ├── my.config
    ├── input/
    │   ├── fastq/
    │   │   ├── SRX19363186_SRR23454126_1.fastq.gz
    │   │   ├── SRX19363193_SRR23454122_1.fastq.gz
    │   │   ├── SRX19363186_SRR23454126_2.fastq.gz
    │   │   ├── SRX19363193_SRR23454122_2.fastq.gz
    │   │   ├── SRX19363187_SRR23454125_1.fastq.gz
    │   │   ├── SRX19363194_SRR23454118_1.fastq.gz
    │   │   ├── SRX19363187_SRR23454125_2.fastq.gz
    │   │   ├── SRX19363194_SRR23454118_2.fastq.gz
    │   │   ├── SRX19363188_SRR23454124_1.fastq.gz
    │   │   └── SRX19363188_SRR23454124_2.fastq.gz
    │   ├── metadata/
    │   ├── pipeline_info/
    │   └── samplesheet/
    │       └── samplesheet.csv
    └── output/
Executing the nf-core/rnaseq pipeline
- Now that we have the files ready for the pipeline, we can go ahead and execute it.
- To run the pipeline, we need to be in the parent directory (rnaseq-course) directory and also make sure we are on the cla1 node.
- First of all, lets exit the prefetch tmux session, log onto the cla1 node, and create a new one for the rnaseq pipeline.
- In the terminal window at the bottom of your screen:
# detach from the fetchngs session
ctrl + b
d

# create new tmux session
tmux new -s rnaseq

# load modules
module load nextflow/24.10.4
module load singularity/singularity-ce/3.11.4
- Now we can run the pipeline
# execute pipe
./bin/rnaseq.sh

#leave pipeline running for a few minutes to ensure its working, then we can close the session:
crtl + b
d
- We will cover the outputs from this pipeline during the Day 3 session.